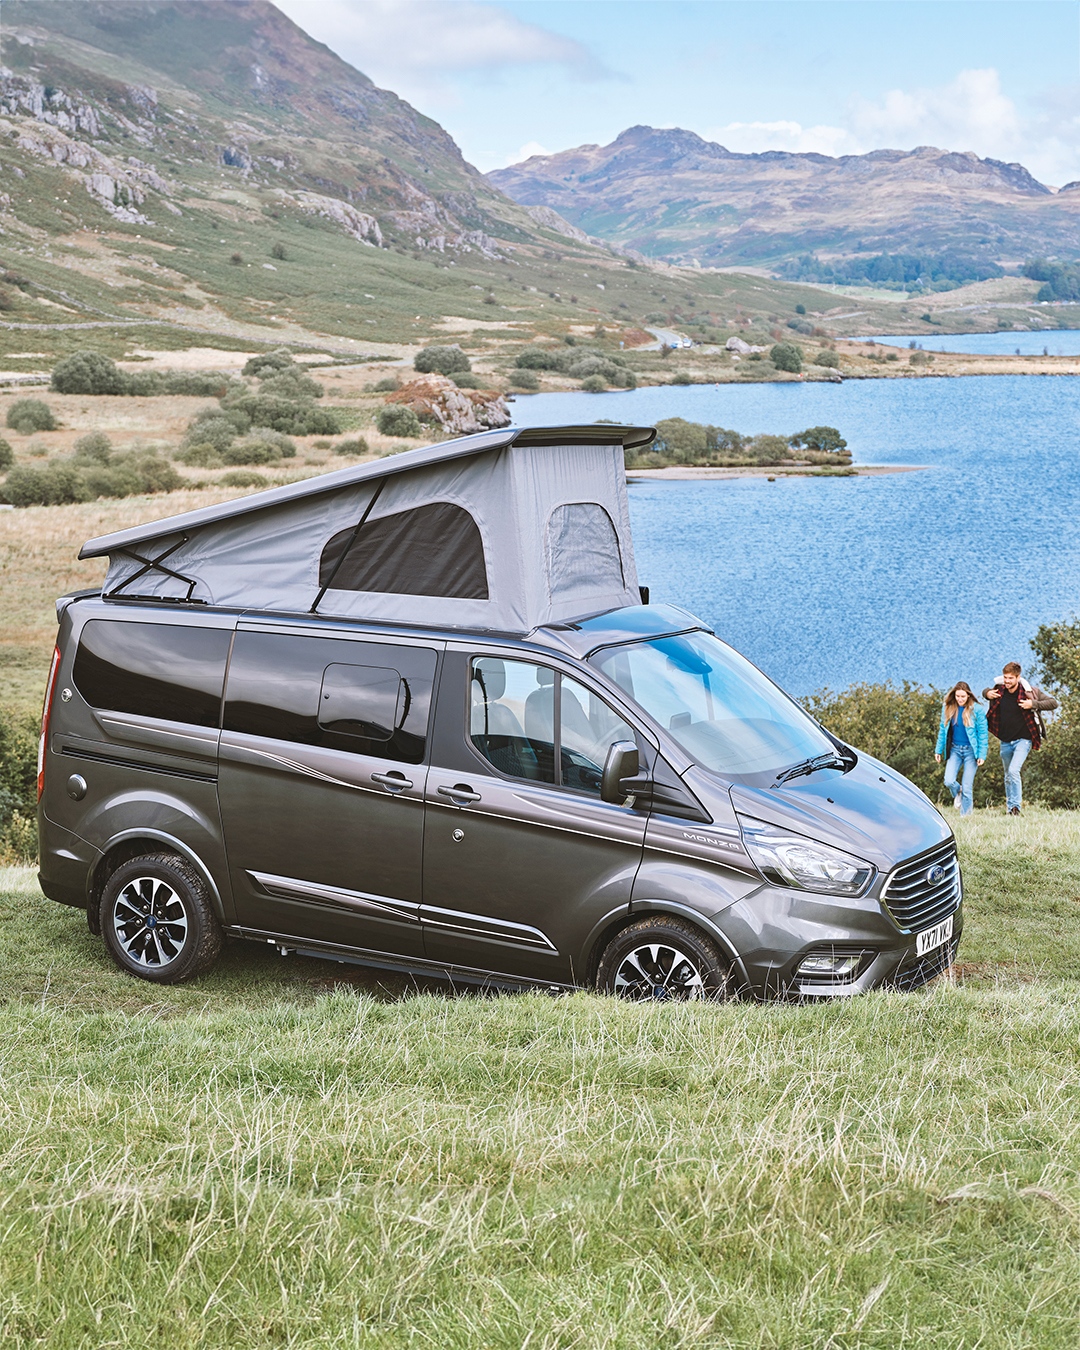
Winter is here and for lots of our customers, it’s time to prepare the caravan for the cold and wet months ahead. A little effort to ensure your camper is properly winterised now will go a long way to safeguarding your investment and guaranteeing a trouble-free return to the road when the warmer weather returns next spring. We asked the team of camper and caravan experts here at Stewart Longton for their top tips to help you winterise your vehicle. We hope their answers will help you keep your camper in top condition throughout the cold, damp weather and avoid costly damage to the water systems. Let’s dive in and take a look!
1. Clean, inspect and protect the exterior
Give the outside of your caravan a clean before shutting it away for the winter. Removing any black or green mould that has built up now will help stop it permanently marking the exterior but avoid using pressure washers as these can damage window and door seals. This is also an excellent opportunity to inspect the caravan and carry out any maintenance that needs doing. Checks should include examining window seals and resealing any areas that show signs of wear or damage.
2. Choose where to store the camper
Campers and caravans are designed for us outside so there’s no need to cover them with a cover if you don’t have one. Avoid parking under trees as they won’t shelter the caravan from the weather, and you could end up with heaps of dead leaves as well as spores and sap on the bodywork. If you choose to park your camper at a specialist storage facility for the winter, remember to call your insurer and tell them.
3.Drain down water systems
As we mentioned in the introduction, one of the crucial steps in winterisation is protecting your water systems. If you leave water in the system and the temperatures drop below freezing the pipes could split open. So, begin by completely draining the water tanks, pipes and the water heater. Then, after the draining is complete, flush the systems to remove any residual water. This prevents freezing, which can cause damage to pipes and fittings. You can buy kits with a compressor or foot pump which are a great help in flushing out your system.
4. Check gas appliances
Next, ensure all the gas appliances, including heaters and cookers, are in good working condition before you shut up shop for the winter. If necessary, have a professional inspection to ensure the safety and functionality of these appliances. Close gas valves or disconnect regulators (if clip-on type), and cover open pipework ends with caps or cloths. If you’re storing your camper or caravan then check their gas cylinder policies, as some don't allow cylinder storage with units. Ideally, store cylinders in the unit's gas locker; otherwise, secure them outdoors. Avoid storing them in sheds or garages as that could be a fire risk.
Regardless of location, store cylinders at least two metres from drains, cellar openings or buildings. Keep them away from heat, flammable materials, and corrosive substances. Use plastic caps on cylinder outlets when removed from the gas locker and remember to switch off the engine/electrical equipment when handling cylinders!
5. Inspect and maintain tyres
Check the condition and pressure of your caravan’s tyres because while you might not be driving it for a while, underinflated tyres are more susceptible to damage and flat spots when stationary for an extended period. You could also consider using tyre covers to shield them from the elements. Our team also advises that you periodically move the caravan slightly to prevent flat spots from forming… perhaps put a reminder in the calendar for every four to six weeks?
6. Guard against damp
Moisture can be a caravan's nemesis during winter, and we all know Britain can be very damp in the winter (and spring, and autumn…). You can help to manage damp and mildew by using moisture absorbers or dehumidifiers in the bathroom and even dotted around the other rooms when it’s being stored. We also advise that you leave cupboards and drawers open to allow air circulation and stand cushions up and away from the exterior panels. Put a thin coating of WD40 on hinges to prevent rust forming.
7. Security measures
No one wants to come downstairs in the morning and realise their caravan has been spirited away in the night. Your insurer may already require you to have extra security measures but even if they don’t, it’s worth doing to put possible burglars off. We recommend using wheel clamps, hitch locks, and alarms and your caravan with a unique identifier for added security.
8. Battery basics
Imagine how frustrating it would be to get back into your mould-free, clean and shiny camper in the spring, only to find that the battery is totally dead. Leisure batteries can suffer during extended periods of inactivity, so you need to decide how to take care of yours. If you store it in the unit, ensure it stays fully charged and isolated from 12V equipment using the unit's isolation switch. Alternatively, turn off all interior electrical items and unplug them, as anything on standby mode can drain the battery.
If possible, take the battery home for periodic charging, as a battery should not go more than six weeks without recharging. Remember, even when disconnected, a battery will gradually discharge, and once left in a discharged state, its storage capacity can't be fully restored. If your caravan has a tracker or security system requiring a power source, consider leaving the battery in place and finding an on-site charging solution or using a 30w or larger solar panel for maintenance.
Winterising your caravan or camper demands attention to detail and thorough preparation but it’s going to be worth it in the spring. By following these steps and investing time now, you’re ensuring a smooth transition back to your adventures when the warmer days return. Good luck!